Trophy Care
There’s no recording of this volume, so your phone reads it out, section by section.
Caping, cleaning and salting, and getting a head to the taxidermist in one piece.

What you are keeping
A trophy is whatever you want to remember the animal by, and the care starts the moment it is down. What you keep decides how you handle it, so decide before anyone picks up a knife. Some cuts cannot be undone.
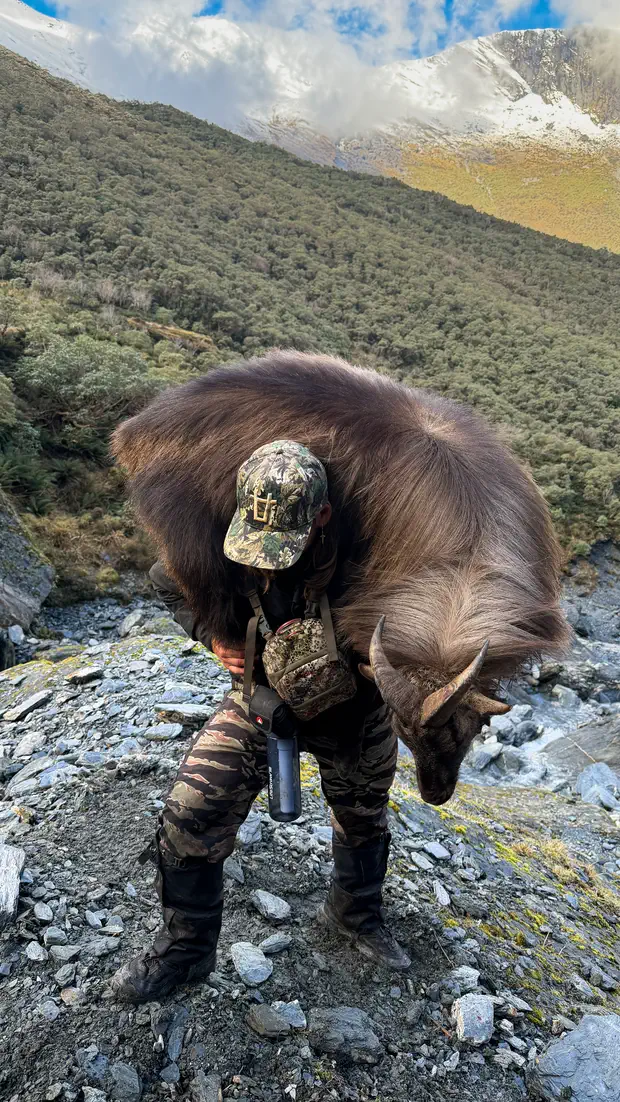
A shoulder mount needs the cape: the hide off the neck and shoulders in one piece, uncut on the front, with the head still in it. A skull mount, which taxidermists call a European mount, needs only the head. Antlers or horns on a plaque need even less. On the New Zealand trip, caping and skinning ready for the taxidermist are part of the deal, and it is done with you, right there on the hill.
What you are looking at matters too, because antler and horn are different things and they are handled differently.
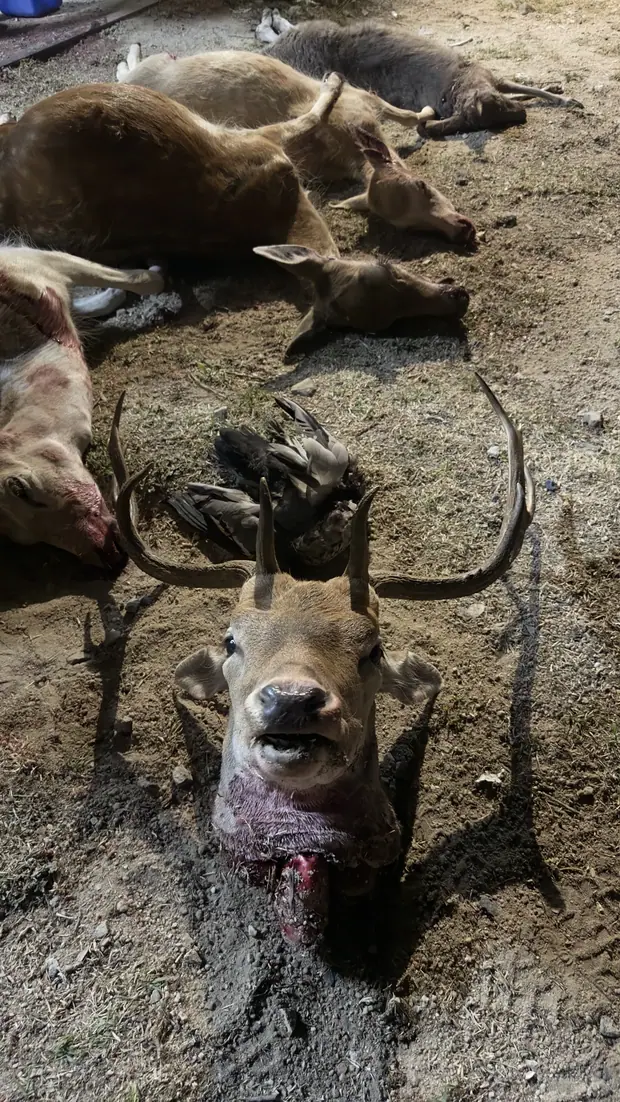
Fallow: the palm, and the timing
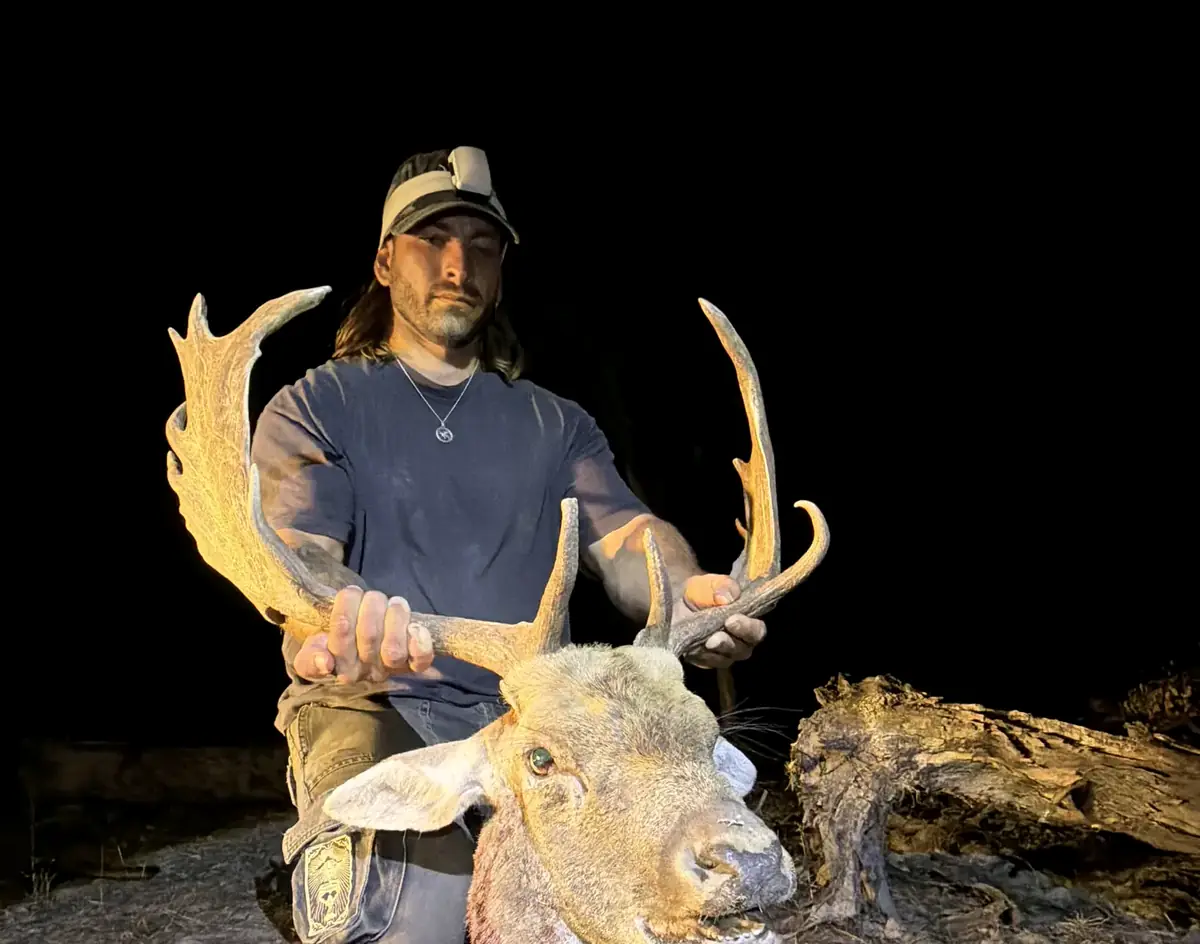
A fallow buck's antlers are bone, grown fresh every year and cast every spring. Australian bucks cast between September and November, depending on whose figures you read, the oldest first, and grow the new set in velvet through summer, finished by about February. So an October buck may be in hard antler, just cast, or growing soft new antler in velvet, which needs its own handling (chapter IV). One still in hard antler that late is often a younger buck. The cape is short-haired and spotted, and a shoulder mount of a good fallow is mostly about the palms.
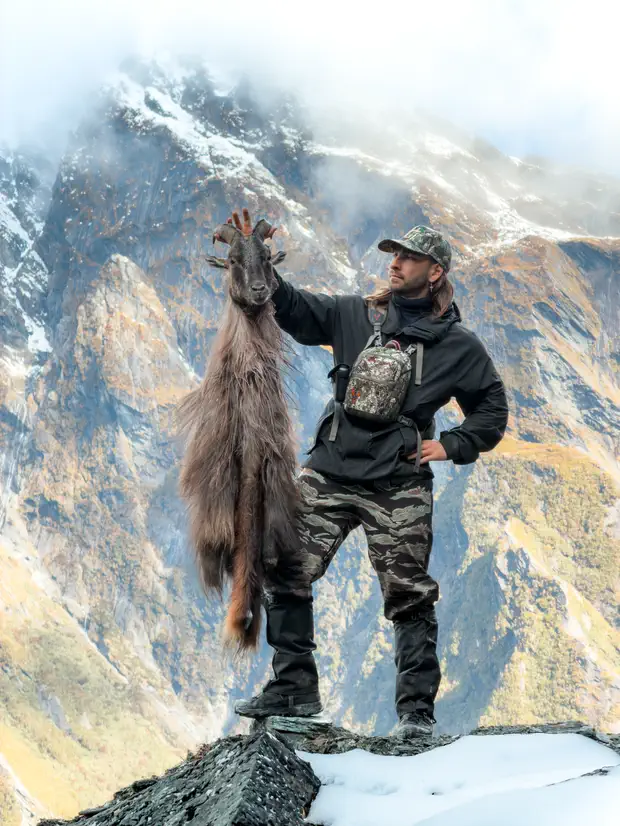
Tahr: horns for life, and the mane
Both sexes carry horns, but a bull's rise from heavy bases that almost touch, sweep back and turn in at the tips. They are never cast. They grow for life and add a ring each winter. The bull's long mane over the neck and shoulders is the prized part of the cape, so a tahr cape is cut well back to keep all of it. In October a bull is past his best coat, which comes with the winter rut, and paler after the spring moult. Your guide will tell you honestly what a cape is worth.
Chamois: small horns, short season for skins
Bucks and does both carry slender black horns with a hook at the top, a buck's stouter with a deeper hook. They are horn, kept for life. The skins are best taken in the full winter coat. Two New Zealand biologists writing in 1965 noted that at other times of year the hair sheds quickly after curing, so a spring chamois is often a skull and horns rather than a cape.
Lore
New Zealand's chamois arrived in 1907 as a gift from Emperor Franz Joseph of Austria, part of a swap that sent kea and kiwi the other way. The glacier just up the coast from Fox carries his name. And the long silver-tipped hairs along a winter chamois buck's spine are the Gamsbart, the "chamois beard" worn as a tuft on Bavarian hats.
The first hour
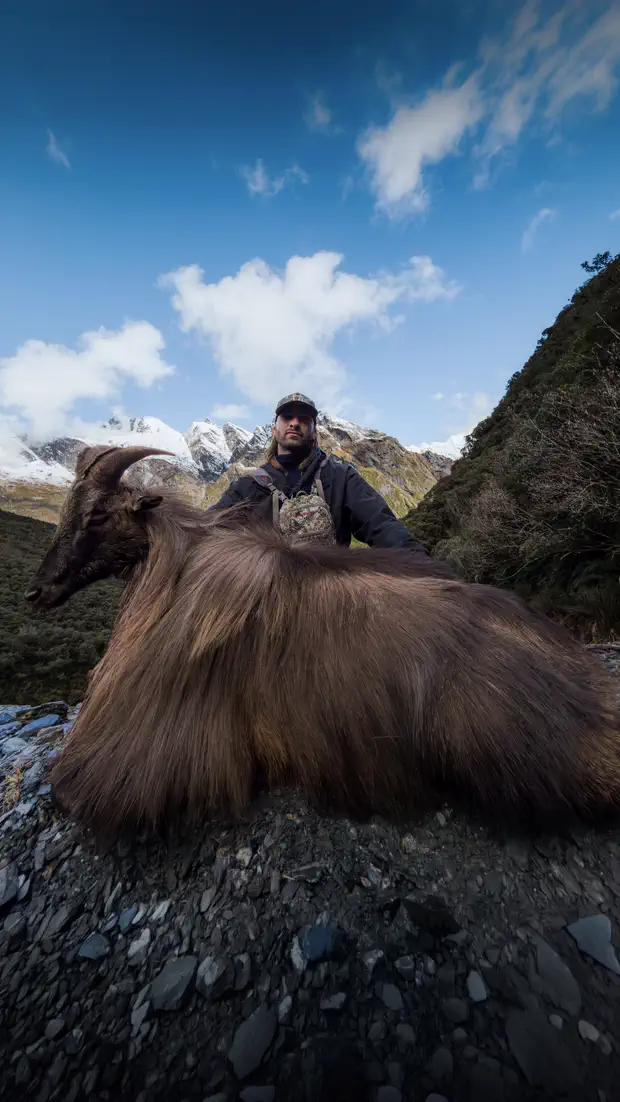
Take the photos before anything else, while the animal still looks like itself. Do them properly. The photo is the only part of this animal most people will ever see, and a careless one says something about the person in it.
Wipe the blood off the mouth, nose and wound with water, a rag or a handful of grass. Push the tongue back in and close the mouth. Fold the legs under the body so it lies the way it would rest, head up. Put yourself behind it, sitting or kneeling, never astride it, and get the camera down low, at its level, with the country behind.
No cigarettes, no stubbies, no bloody hands held up to the lens. If it would look bad to somebody who does not hunt, it is a bad photo. That is not about being soft. It is about the animal.
- 1Head up, mouth shutTongue in, blood wiped, the head held up as it would be alive.
- 2Lying naturallyLegs folded underneath, the body as it would bed down.
- 3You behind itSitting or kneeling at the back, never astride it, never on it.
- 4The country in the frameWhere it lived. It is half the story.
- 5Camera lowAt the animal's level, not looking down on it.
Hair slip is what kills a mount: the hair starts coming away from the skin in patches, and no taxidermist can fix it. Warmth, wet and time drive it. So the cape's enemies are sun, water, plastic bags and hours.
Get it off and cooling once the photos are done. Keep it in the shade, opened out to the air, off the meat and out of any water. A taxidermist puts it plainly: melting ice in a cooler on a warm day is a breeding ground for bacteria that slip the hair. Cold, yes. Wet, never. And never roll a warm cape into a plastic bag, which holds the heat in.
Never drag an animal you want mounted by its back legs. That drags the cape, against the grain of the hair, over everything on the ground, and on scree it rubs the hair off and cuts the skin. Drag by the antlers or front legs, or cape it where it lies and carry the cape. Never hang it by the neck, because the rope marks the hide.
Never cut the throat
A heart-lung shot has already bled the animal out. Cutting the throat does nothing for the meat and ruins the cape. One taxidermist's line: a good one can fix a buck that has been head-shot, but not a cape with a 25 cm cut in its throat.
If you are gutting an animal you want mounted, stop the belly cut at the base of the breastbone and reach up inside the chest to free the windpipe and gullet, rather than opening the throat.
- Photos doneblood wiped, tongue in, legs tucked
- A sharp knife, and a spare blade
- Gloves on, cuts covered
- Shade, and somewhere clean to lay the cape
- A breathable game bagnot plastic
- Water or a rag for the blood on the hair
- The guide's call on what you are keeping
Lore
The word taxidermy dates from 1820 and comes from two Greek words: taxis, arrangement or order, the same root as tactics, and derma, skin. The skin arranger. The trade's whole job is putting a skin back the way it was, which is why it hates a cut in the wrong place.
Caping for a shoulder mount
On this trip you get help caping your animal on the hill, and the taxidermist takes care of the rest. Know the job anyway, because the hour after the shot is when capes get ruined, usually by somebody being helpful with a knife. What follows is general practice. Where your guide or taxidermist wants it done differently, they win.
The rule that matters most: leave more than you think. A taxidermist can trim a cape that is too long. Nobody can add skin to one that is too short, and taxidermists say not leaving enough cape is the commonest mistake they see. For a tahr, cut well back so the whole mane comes with it.
Every cut through the hide goes from the inside out, the blade under the skin and the edge facing up. Cut down through the hair and you slice it off, and the cut shows.
Around the body, well back
A cut right around the body in line with the back end of the breastbone, well behind the shoulders. Too far forward is the classic mistake.
Around and up the front legs
Around each front leg at the middle joint, then up the back of the leg to the armpit, and straight back to meet the body cut.
Up the back of the neck
From the top of the body cut, along the spine and up the back of the neck, stopping 5 to 8 cm short of the antler or horn bases. This is the dorsal cut.
Skin it forward
Peel the hide off the shoulders and up the neck, working forward to the back of the jaw. Go slowly around the brisket, and keep the hair off the dirt.
Off at the first vertebra
Cut through where the skull meets the spine and take the head off with the cape still on it. Head and cape go out as one package, ready for the taxidermist.
The Y, and the face
Only if the skull is coming out of the cape: two cuts from the end of the neck cut to each antler or horn base, a Y, then the face. The skin binds hard around the bases. This is guide or taxidermist work.
The other way to open a cape is up the throat and down the brisket. Taxidermists ask for the dorsal cut because of where the seam ends up. On the finished mount, a dorsal seam runs along the top and back of the neck, out of sight from where people stand. A throat seam runs straight down the front, through the hair everybody looks at, and it is very hard to hide.
If in any doubt, do less. Make the body cut and the leg cuts, then peel the hide forward up the neck like a sock, as far as it will go, and take the head off at the first vertebra with the cape still on. Keep it cold and let the taxidermist make the rest of the cuts.
The seam runs along the top of the neck and into the wall.
The seam runs down the front, where every eye goes.
If the skull has to come out of the cape in the field, usually so the cape can be salted, the face has to be opened up so salt can reach every bit of skin. It is skilled work, and it is where amateurs cut holes. Here it is in outline, so you know why you leave it to the person who has done it a hundred times.
Turning the ears
The skin on the back of each ear is worked off the cartilage, right out to the edge, so the ear turns inside out. Salt then reaches the inside of the ear, which is thin, and the first place hair slips.
The eyes
Cut close to the bone, deep in the socket, so the eyelids stay whole on the cape. The skin folds and tucks into recesses around the eyes and the glands in front of them, and rushing is how a cape gets a hole beside the eye.
Splitting the lips
The lips are cut free close to the gum line, then the thick lip is split open from the inside, so salt can reach it and it can dry. Leave too little lip and the taxidermist has nothing to tuck.
The nose
The nose cartilage is cut deep, close to the skull, so the whole nose pad stays with the cape, then opened up so salt can get inside.
Salt, freeze, or velvet
A cape starts to break down the moment the animal dies, and there are two ways to stop the clock. Salt draws the water out of the skin, and bacteria cannot work without it. A freezer stops everything where it is. Which one depends on how far you are from a freezer, and on what your taxidermist wants, so ask before the trip.
Near a freezer, freeze. The usual advice is that if the taxidermist is more than a couple of days away, a freezer is the answer. Days into the hills with no freezer, salt is. Taxidermists are wary of salting when it is not needed, because long salting dries a cape out and makes it harder to work, so if you do salt it, tell them.
- First
Flesh it completely
Every scrap of fat and meat off the skin, from the shoulders to the nose. Salt cannot get through fat, and the skin under it rots. Never salt a cape that has not been fleshed.
Open the face
Ears turned, lips split, eyes and nose opened, so salt reaches every bit of skin. The skilled part.
Salt it, heavily
Plain non-iodised salt, a thick layer worked over every bit of the flesh side, right out to the edges and into the face. New Zealand hunters often use pool salt or plain supermarket salt. Use it by the bag, not the shaker.
Fold, roll, drain
Fold it flesh to flesh, roll it up, and let it drain for a day in a sack or on a slope, out of the sun. Salt pulls a surprising amount of water out.
- Then
Re-salt and dry, if asked
Some people shake off the wet salt, salt it again, and hang it to dry in the shade. Practice varies here, so do exactly what your taxidermist says.
Freezing is simpler, and when a freezer is close it is what taxidermists tend to ask for. Two things go wrong. A cape frozen wrinkled sets that way, and wherever skin freezes against hair, the hair can let go. The thin parts, the nose and the ears, freezer-burn first.
Skin to skin
Fold the cape across the short way, flesh side to flesh side.
Hair to hair
Fold it the long way, with the head out past the brisket.
Head back, nose in
Fold the head back the other way and tuck the nose under. Bag it, squeeze the air out, and freeze it flat with nothing stacked on top.
A fallow buck at Silent Grove in October may still be in hard antler, may have just cast, or may already be growing new antler in velvet. Velvet is living skin, full of blood vessels, laid over antler that is still soft and growing. It rots like any skin, it bruises when it is knocked, and the soft antler under it is easily damaged.
If a buck in velvet is one you want to keep, treat the head like glass. Do not drag him by the antlers or let them hit the ground or the ute tray. Keep the flies off. Take close-up photos of the antlers from every side, because the taxidermist may need them to match colour and shape later. Then get the whole head, skin on, into a freezer as fast as you can. Freezing is the field answer for velvet.
From there it is the taxidermist's call. Real velvet means preserving tissue and blood, which is slow and costly, and some freeze-dry the head. Some strip the velvet off, clean the antler, rebuild any unfinished points and apply artificial velvet, which lasts better and does not smell.
Freeze it
Cape off, cooled in the shade, folded skin to skin, bagged with the air out and frozen flat. Do not salt something that is going straight into a freezer. Get it to the taxidermist frozen.
Keep it cold and dry, then salt or freeze
Cool and shaded first, out of meltwater. If it will be days before a freezer, it gets fleshed and salted, and the guide decides. On this trip the capes and skulls go to the taxidermist when the helicopter comes back in.
Freeze the whole head, fast
Head and skin on, antlers untouched, photos taken, into a freezer as soon as you can. The taxidermist takes it from there.
Lore
Antler grows faster than any other bone in any mammal. It starts at the tip as cartilage, turns to bone behind it, and the velvet feeds the whole job. When the antler reaches full size the velvet dies and is rubbed off, and the bone that is left is, by most accounts, dead. A buck carries it on his head for most of the year, then drops it and grows a whole new set every spring.
Skulls
A clean skull with its antlers or horns, bone white and nothing else, is the simplest trophy there is and one of the best looking. Getting there means getting every scrap of tissue off the bone without damaging the bone, which is harder than it sounds. A skull is mostly thin plates, and the bones inside the nose are as thin as paper.
Start by skinning the head, then take out the eyes, the tongue and the lower jaw, and the brain through the big hole at the back of the skull, with long pliers or a bent wire. The more you take off now, the easier everything after is. Then there are three ways to clean it.
Simmer it, never boil it
Water held just under the boil for a few hours, with a squirt of dishwashing detergent as a degreaser, and the antlers wired up above the water. Then pick and wash it clean, from the back forward so the nasal bones survive. A hard boil is the classic mistake: it breaks the fine nose bones, can crack the skull along its seams and shake teeth loose, and drives grease into the bone so it never whitens properly.
Macerate it
Soak it in warm, not hot, water and let bacteria do the work until the tissue falls away. Gentle on the bone and patient work, and it smells exactly as bad as you would expect. Do it well away from the house. Burying a skull is not a shortcut: it stains and weakens the bone, and something digs it up.
Let the beetles do it
Dermestid beetles eat the dried tissue off a skull and leave even the fine nasal bones intact. It is the cleanest result there is, but a colony needs warmth, airflow and fly control, so it is mostly a taxidermist's tool.
Heat the pot in the demonstration and watch what happens at the boil. Just under the boil, the odd bubble rises and the tissue softens. At a rolling boil, the water hammers the skull around the pot.
Antlers stay out of the water: hot water stains them. Wrap the bases in foil, or cling wrap under electrical tape. For a tahr or a chamois, the horn sheaths come off once they loosen, and the bony cores are cleaned with the skull. The sheaths go back on at the end. Your taxidermist will tell you how they like it done.
The odd bubble. The tissue softens over a few hours and the bone stays whole.
Bone holds grease, and greasy bone goes yellow and blotchy. The detergent in the simmer starts the job. A long soak in warm water with detergent finishes it, changed when it clouds.
To whiten, brush on hydrogen peroxide hair developer, 20 or 40 volume, and leave it six hours to a couple of days. Sun helps. Rinse it and let it dry in the sun for a day or two, somewhere a dog or a fox cannot reach it. 40 volume is strong enough to burn skin, so wear gloves and eye protection.
Never chlorine bleach
It is the first thing people reach for and the worst thing you can use. Bone is porous, so bleach soaks deep in where it cannot be rinsed out, and it keeps eating the bone. The skull goes chalky and brittle and can crack and fall apart. Peroxide whitens without the damage.
Keep the colour on the antlers
Peroxide whitens antler and horn too. Keep them wrapped or the sheaths off while you whiten. If a base does get bleached, a dark wood stain brushed on lightly brings the colour back.
Lore
Natural history museums keep colonies of dermestid beetles to clean skeletons for their collections. They are close cousins of the beetles that turn up in a pantry. Nothing else gets into every crevice of a skull and leaves the paper-thin bones alone. Chronic wasting disease, the reason Americans may not carry a deer head with the brain in it across state lines, has never been recorded in Australia and is not reported in New Zealand.
Measuring
In Australia and New Zealand, trophies are usually scored by the Douglas Score, devised by Norman Douglas and first used by the New Zealand Deerstalkers' Association's Waikato branch in 1949, then adopted nationally in 1958. Everything is measured in inches, to the nearest eighth. For every pair of measurements, the shorter side is doubled, so a lopsided head loses points and symmetry wins.
A tahr horn is measured along the outside of the curve, from the base where horn meets skull to the tip, and around the base. The score is the shorter horn doubled plus the smaller base doubled. There is no spread measurement for tahr or chamois. Two 13-inch horns on 7-inch bases make 40, the New Zealand record book's mark.
A chamois is scored the same way. The record book takes one at 27, or with a horn over 10 inches, and a representative buck runs 9 to 9½ inches on the shorter horn.
Along the outside of the curve, base to tip.
Score a bull
Set both horns and both bases. The shorter horn and the smaller base are doubled and added. Make one horn shorter and watch what it costs.
A tahr adds a horn ring each winter, and the horn grows fastest in the first five years, then slows. So an old bull's rings stack up tight at the base, and length alone tells you little about age. A good bull is mature, full-maned and heavy at the base.
A fallow head is scored with more measurements: the length of each beam and of the tines, the length and width of each palm with and without its points, and the spread. The shorter of each pair is doubled again. The record book takes a fallow at 200. The Australian Deer Association calls anything over 200 a trophy and over 225 exceptional. The Antlers volume walks through it properly.
Lore
Thirteen inches is harder than it sounds. Of 1,695 bull tahr examined between 1971 and 1976, 247 were five or older, and only 15 of those had horns of 13 inches or more. The New Zealand record, shot in 2024, scored 50 4/8 on horns of 15 7/8 inches. And the country's record chamois is a doe.
Getting it home
You fly home after the hunt. Your trophy does not. Capes and skulls go to a New Zealand taxidermist when the helicopter comes back in, and the taxidermist prepares them for the trip home. Here is what happens next, checked against the Australian rules as they stand in October 2026.
This is a plain-English field reference, not legal advice. Australia's import conditions live in the Department of Agriculture, Fisheries and Forestry's online database, BICON, and its case for animal trophies changed on 1 October 2026. Check it before you travel, and see The Law in NZ and The NZ Directory for the New Zealand side.
- On the hill
Caped and skinned
Done with you on the hill, the head still in the cape, kept cool and dry.
- At the hut
Kept cold, salted if need be
Shade, air and no meltwater. Salted if it will be days, at the guide's call.
- Fly out day
To the taxidermist
Capes and skulls go to a New Zealand taxidermist, and you go to the airport.
- Then
One of two routes
Either the taxidermist tans the cape, cleans and boils the skull and horns, mounts it and ships the finished mount. Or the taxidermist prepares the trophy and sends it raw, with whatever paperwork BICON asks for, to a taxidermist in Australia.
- Arriving
Declared and inspected
Anything of animal origin is declared and inspected when it reaches Australia, with inspection fees. Get the taxidermist's quote, paperwork and completion date in writing.
Pick what is arriving. These are the personal-use conditions in the BICON case for animal trophies, as at October 2026.
Is it a protected species? No. The Department of Conservation says tahr and chamois are not CITES-listed and will give you a letter saying so. Australia's environment department needs no wildlife trade permit for non-live animal products from species that are not CITES-listed and not native.
A finished mount
Fully tanned, free of fat, muscle, blood, bone and decay, with the skull and horns boiled and free of seeds, soil and debris. That is the route that suits most people.
A tanned hide or cape
Clean and fully tanned, with a mandatory inspection when it arrives. Fully tanned hides are released.
A raw, salted or dried cape
This is where it gets fiddly. Untanned hides have their own BICON conditions, which can include a New Zealand government certificate from the Ministry for Primary Industries, issued only after the hunt once the trophy has been declared. Your taxidermist checks BICON and sorts the paperwork. Anything that arrives without what the conditions ask for is treated, sent back or destroyed, at your cost.
A clean skull, horns or antlers
Clean and free of debris, with a mandatory inspection. A finished European mount fits here.
A skull with tissue or soil on it
Unboiled skulls, tissue in the cracks and soil on the bone are the classic failures. Non-compliant items are treated, re-exported or destroyed, at the owner's cost.
Can I carry the skull home in my bag?
Only if it already meets the conditions: boiled, clean and free of tissue, soil and seeds, and declared. After a five-day hunt there is no time to do that properly, which is why it goes to the taxidermist.
Do I need a CITES permit?
Not for a tahr or a New Zealand chamois. Neither is CITES-listed. The only listed chamois is a rare Italian subspecies, the Apennine chamois. The Department of Conservation will give you a letter saying so if a shipper or an inspector asks.
What do I declare when I land?
Every animal product, plus hunting gear, boots and any clothing worn in rural areas. Clean your boots and gear before you fly. Declaring something costs nothing. Not declaring it can.
What about a fallow from Silent Grove?
It never leaves the country, so none of this applies. Freeze it or salt it as in chapter IV and get it to an Australian taxidermist.
How long does it all take?
Longer than you would like, and no two taxidermists quote the same. Ask for the completion date, the paperwork and the shipping in writing before you hand over the cape.
Checked 5 October 2026 against BICON (animal trophies, effective 1 October 2026), MPI, DOC and DCCEEW.
Lore
Hunting tahr and chamois in New Zealand was illegal until a special warrant in May 1925, two decades after the Duke of Bedford sent six tahr from his herd at Woburn in 1904. One went overboard on the voyage. One of the first chamois shot under that warrant carried 10-inch horns, a whisker short of today's record-book mark.
Try the field game and see what stuck.